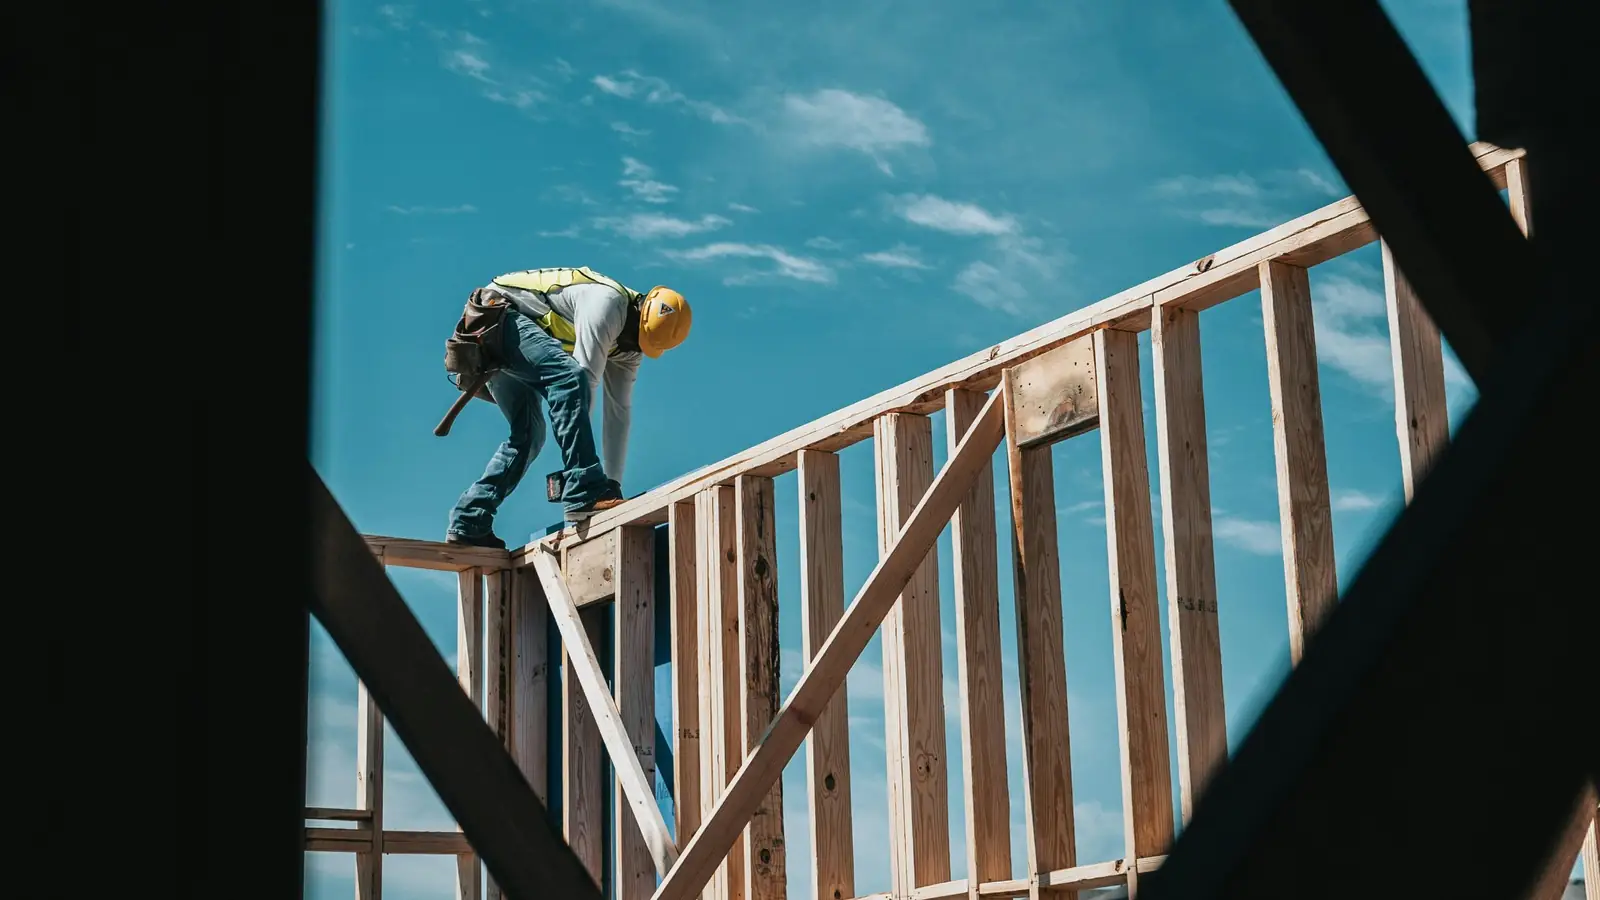
How do you build a shed from scratch, step by step?
To build a shed, set a level foundation, frame a pressure-treated floor on joists, build walls at 16 inches on center with a double top plate, then set rafters to a ridge board and sheath the roof. Finish with house wrap, siding, a shed door and shingles, working from a material list and cut list.
How to Build a Shed from Scratch: The Build Sequence at a Glance
Knowing how to build a shed starts with accepting that the order of operations is fixed by inspection and by the concrete. You cannot frame walls before the pad is level and square, and you cannot set a bottom plate before you know the slab or skid location clears the setback line. The sequence below is the one a crew follows on a 10x12 storage shed; each step gets its own detailed section further down.
A shed material list ordered before the pad is built will be wrong. Footing type, wall height, and roof pitch all change quantities, so the list comes after the layout is staked and the permit is in hand. Expect the lumber package to carry a waste factor on dimensional lumber and sheathing; the waste allowance is a line item, not a rounding error. When you price the package against a national average, our estimating by project type support shows how accessory structures are scoped differently from a full house.
Permits, setbacks, and HOA rules to check first
Call the building department before you buy a board. Ask three questions: the maximum accessory-structure floor area that avoids a full permit, the side and rear setback for a detached shed, and the height limit measured to the ridge. Many jurisdictions exempt sheds under 120 or 200 square feet from a building permit but still enforce zoning setbacks, and an HOA may restrict color, roof pitch, and visibility from the street. Confirm the adopted code edition locally; IRC Chapter 3 and Appendix H govern accessory structures in most U.S. jurisdictions.
Tools and skills the job actually requires
The tool list is short but specific: a 4-foot and a 2-foot level, a chalk line, a circular saw, a framing nailer or a hammer and 16d nails, a speed square, a string line, and a ladder for the roof. A miter saw speeds up rafters and trim. The skills that matter are reading a cut list, cutting rafters to a consistent birdsmouth, and plumbing and squaring walls before sheathing locks them in place.
Order of operations from site prep to final trim
The sequence runs: stake and square the pad, excavate and compact, build the skid foundation or pour the slab, set pressure-treated sill plates with anchor bolts, frame floors on treated joists with a joist hanger at every end, frame walls, sheath, wrap, frame the roof, shingle, hang the door, then trim. Each king stud and header is placed during wall framing, not after. Skipping the square check on the pad shows up later as a door that will not close. If you want the framing quantities verified before you cut, our framing estimating services trace every stud and rafter to a spacing rule, and the same discipline applies when you learn how to build a shed roof with rafters on a pitch you have not framed before.
Sizing the Shed and Building a Traceable Material List
Footprint and wall height drive nearly every quantity. An 8x10 shed at 8-foot walls has 336 square feet of gross wall area before openings; a 12x16 at the same height has 448 square feet. Each additional foot of wall height adds 36 and 56 square feet of wall respectively, which is roughly one extra sheet of osb sheathing per side on the larger building. That is why diy shed plans should be dimensioned, not sketched, and it is the first thing to settle when you learn how to build a shed.
Every count on the list should trace to a dimension, a spacing rule, and a waste allowance. A stud count of "about 40" is a guess; a count derived from perimeter length divided by 16 inches on center plus corners, openings, and cripple stud above and below each opening is an auditable number. The same discipline applies to a slab: how to build a shed on a concrete slab begins with the slab thickness and reinforcement, because those set the concrete volume and the anchor bolt layout before framing starts. Budget the result against a published construction cost per square foot before you commit to a size.
Square-foot budget calculator
- Hard cost
- $444,000
- Soft costs
- $53,280
- Contingency
- $49,728
- Escalation
- $21,880
- Budget total
- $568,888
- All-in per sq ft
- $237
Enter your own base rate from a recent bid, cost book or estimator. The default values are placeholders for the math, not market prices.
Common sizes: 8x10, 10x12, 12x16
An 8x10 suits garden tools and a mower; a 10x12 adds a workbench along one wall; a 12x16 accommodates a full-height door and a loft. Wall height is usually 8 feet, with 7-foot walls common on smaller sheds to save siding and studs. Pick the size from what goes inside plus a 2-foot aisle, then let the dimensions drive the material list.
Turning dimensions into a stud, sheet, and joist count
For a 10x12 with 8-foot walls, the perimeter is 44 linear feet. At 16 inches on center that is 33 stud spaces, so 34 studs per wall run before corners and openings; add 2 studs per corner, 2 king studs plus a header at each opening, and cripple studs above and below windows. Floor joists at 16 inches on center across a 10-foot span need 10 joists plus rim joists. Sheathing divides wall area by 32 square feet per sheet, then adds waste. Use the calculator below to convert your own footprint and base hard cost per square foot into a budget total; it takes area, base hard cost, soft-cost percentage, contingency percentage, and escalation percentage, and returns hard cost, soft costs, contingency, escalation, budget total, and all-in cost per square foot. For a full quantity audit, our lumber takeoff and estimating service documents each line the same way.
Framing the Floor, Walls, and Roof
Framing starts with a layout drawing, not a saw. Mark the rim joist and every floor joist center on the band, mark stud centers on the bottom plate, and mark rafter centers on the top plate. Carry the same 16-inch module through all three assemblies so sheathing edges land on framing and waste stays in the offcut pile. A shed built on a gravel pad or skids still uses the same layout logic; only the connection to the ground changes.
Before you price the order, it helps to know how much does it cost to build a house per square foot, because a shed carries the same framing, sheathing and roofing line items at a smaller scale. The loaded labor rate calculator below turns a base carpenter wage, a burden percentage, a share of hours at overtime, crew size and hours into a loaded rate, a blended rate with overtime, labor hours and crew labor cost. Run your own crew numbers through it before you compare a self-built schedule against a hired crew.
Loaded labor rate calculator
- Loaded rate
- $31/hr
- Blended with overtime
- $32/hr
- Labor hours
- 320
- Crew labor cost
- $10,279
Burden covers payroll taxes, workers’ compensation, insurance and benefits; it varies by state, trade and company. Overtime is priced at time and a half.
Floor joist sizing and spacing
Size floor joists from a span table for the species and grade you bought, then set spacing at 16 inches on center for a 3/4-inch plywood or OSB deck and 12 inches on center where the deck is thinner or the load is heavier. Run a rim joist around the perimeter and hang interior joists from hangers rather than toe-nailing them to a band. Pressure-treated lumber belongs anywhere within 6 inches of soil, including the rim and any joist that sits over exposed ground. Check each joist for crown and turn the crown up before fastening.
Wall stud layout and openings
Snap a chalk line and mark stud centers from one corner so the first stud sits flush and the layout stays on 16 inches on center to the far end. Nail a bottom plate and a double top plate, then frame each rough opening with a header, king studs on both sides and cripple studs above and below. Cut studs to a consistent length and check the plate for bow before you lay out; a crowned plate throws every opening out of square. Square each wall on the deck by measuring diagonals before sheathing locks it in place.
Rafters, gable, or truss roof framing
For a rafter roof, set the ridge board at height, lay out a pattern rafter with a birdsmouth cut that seats fully on the top plate, and cut the remaining rafters from that pattern. Space rafters 16 or 24 inches on center to match the roof sheathing span, and tie opposing pairs with collar ties in the upper third. Gable end walls need studs cut to the roof slope and blocking at the top plate. Trusses skip the layout work but arrive with an engineered spacing sheet you must follow exactly. If you want the member sizes and quantities checked against the drawings, send them through framing estimating services before you order.
Sheathing, Siding, Roofing, and the Door
The enclosure goes on in layers, and each layer depends on the one under it being complete. Sheathing stiffens the frame, the weather barrier keeps bulk water out of the wall cavity, and the roof covering sheds everything above. Skipping or reversing a layer is the most common reason a shed leaks in its first season. Knowing how to build a shed means knowing this sequence, and knowing that the envelope drives a large share of the hard costs in construction once you price sheet goods by area and framing by length. If you would rather have the quantities checked before you buy, professional estimating by project type covers outbuildings the same way it covers a house.
Wall and roof sheathing
Fasten 7/16-inch OSB or plywood wall sheathing vertically with edges landing on stud centers, and leave a 1/8-inch gap between panels at the ends and edges for expansion. Nail at 6 inches on center at panel edges and 12 inches in the field unless the panel rating says otherwise. Roof sheathing goes down the same way but with the long edge perpendicular to the rafters and a clip or H-clip at unsupported edges. Cover walls with house wrap after sheathing, lapping upper courses over lower and taping the seams.
Siding and trim
Siding quantities follow wall area minus openings, so compute gross wall area, subtract door and window openings, then add a waste factor. Hold the first course level and keep a consistent reveal; a 1/4-inch drift over 8 feet is visible at the corner trim. Install corner boards and fascia before the field siding so cut ends tuck behind trim instead of butting into it. Fasten siding to framing, not to sheathing alone, and leave room for movement at butt joints.
Roof underlayment and covering
Run ice and water shield along the eaves and in valleys, then felt or synthetic underlayment over the field, lapping each course over the one below. Install drip edge on the eaves under the underlayment and on the rakes over it, then start shingles at the eave with a starter course. Fasten shingles per the manufacturer's nailing pattern, typically four nails per shingle and six in high-wind zones. A shed door hangs from framing, not siding: anchor the hinge side into a king stud and add a header above the opening. The chart below shows producer price movement for lumber and wood products, which is the input that moves a shed cost estimate by size most.
Estimating Shed Lumber and Cost Before You Cut
A material list becomes a cost estimate when every line carries a unit, a quantity, a waste factor and a current price. Work division by division: floor framing, wall framing, roof framing, sheathing, roofing, openings and fasteners. Price pressure-treated lumber separately from framing lumber, because the treatment adds cost per board foot and the two do not move together. The chart below shows the producer price index for lumber and wood products rebased to 100, so you can see how much of your estimate is price movement rather than quantity.
Apply waste by member type rather than one blanket percentage. Floor joists at 16 inches on center on a rectangular plan cut cleanly, while rafters with birdsmouth cuts and short cripple studs around openings generate more offcut. A typical range is 5 to 10 percent on framing lumber and 10 percent on sheet goods, with the higher end for gable roofs and multiple openings. Carry a separate contingency for cutting errors and a second one for price swings between quote and delivery.
Check the structural quantities against the layout before you price them. Rim joist length equals the perimeter, double top plate length is twice the wall length, and anchor bolt count follows the sill plate spacing required by the plans and local code. If you would rather work from a verified list than a hand count, professional lumber takeoff and estimating returns quantities by member with the measurement rule shown. For a broader view of how shed costs compare with other small structures, see the residential construction cost estimate page.
Material price movement, Oct 2023 to Sep 2026
Common Shed-Building Mistakes to Avoid
Most shed projects that stall or fail inspection trace back to three preventable errors: ignoring the permit and setback rules, laying out an out-of-square rectangle, and undersizing the floor system. Each shows up early if you check it deliberately. Before you learn how to build a shed on your own, walk through these checks; they cost minutes and save rebuilds.
To start, request a free quote and attach your drawings.
Skipping the permit or setback check
A shed above the local size threshold (commonly 100–200 sq ft, but confirm with your building department) usually needs a permit, and every shed must respect zoning setbacks. Call the building department before you buy lumber: ask for the maximum footprint without a permit, the required front, side, and rear setbacks, and any height limit. Skipping this can force you to move or demolish a finished shed. Keep the approved site plan with your residential construction cost estimate so permit fees and survey costs stay visible.
Out-of-square layout
A rectangle that is 1 inch out of square will show as a visible gap at the siding and a racked door opening. After setting the corners, measure both diagonals; they should match within 1/4 inch. If they differ, adjust the corners before installing the rim joist or pouring concrete. This check takes one tape measure and prevents the most common framing callback. For a repeatable layout method, see our framing estimating services.
Undersized floor framing
Floor joist spans that are too long for the species, grade, and spacing cause bounce and sag. For a typical shed, 2x6 pressure-treated joists at 16 inches on center span about 9 feet; 2x8 at the same spacing reaches about 12 feet. Confirm with your lumber supplier’s span table or a design professional. Undersizing also affects the header over the door: a 2x6 header may be adequate for a 4-foot opening, but check the span table. A lumber takeoff and estimating service can verify member sizes and quantities before you cut.
Frequently Asked Questions
How much does it cost to build a shed from scratch?
There is no fixed figure, because the cost is set by size, foundation type, lumber grade, and finish level. A gravel pad with skids, 2x6 floor joists at 16 inches on center, and asphalt shingles sits at a different level than a concrete slab with a framed gable roof and siding. Price the material list line by line, then add labor at local carpenter rates.
Do I need a permit to build a shed in my backyard?
Often yes, but the trigger is local. Many jurisdictions exempt storage buildings below a set floor area, commonly 120 to 200 square feet, and most require a permit once you pour a slab, run electrical, or exceed the height limit. Call the building department before you buy lumber and confirm the code edition, setbacks, and whether stamped plans are required.
What is the easiest foundation for a shed?
A gravel pad with pressure-treated skids is the simplest option on flat, well-drained ground. Excavate 4 to 6 inches, compact crushed stone, and set two or three 4x4 skids on solid blocks. A concrete slab is more durable and better for heavy loads, but it needs formwork, reinforcement, and a cure period before framing starts.
How far apart should floor joists be in a shed?
Use 16 inches on center for 2x6 joists and most shed floors; 12 inches on center when the span exceeds about 8 feet or you plan to store heavy equipment. Joist span tables in the IRC set the limit by species, grade, and depth. Run a rim joist around the perimeter and hang interior joists with galvanized hangers.
How many studs do I need for a 10x12 shed?
For 8-foot walls, count studs at 16 inches on center plus corners, openings, and a double top plate. A 12-foot wall takes roughly 10 studs, and a 10-foot wall about 8, before adding king studs and cripple studs at the door and windows. Four walls total near 40 studs, so buy 44 to 46 to cover the waste factor.
Can I build a shed by myself without a contractor?
Yes for a small shed on skids, if you can lift wall sections and handle roof framing safely. Plan on a helper for raising walls and setting rafters, and check local rules on owner-builder permits. Have the material list and cut list finished before the first delivery so you are not short of lumber mid-frame.
How do I learn how to build a shed without missing a step?
Work backward from the finished building: foundation, floor frame, walls, roof, sheathing, siding, door. Write the sequence down and tie each step to a unit and a quantity, so the material list matches the drawings. A takeoff built this way shows every board and sheet, which is how you learn how to build a shed without discovering a missing line item on framing day.
Can you check my shed material list before I buy lumber?
Yes. Send the plans or a sketch with dimensions, the foundation type, and your stud and joist spacing, and we return a quantity takeoff with the measurement rule shown for each line. You can compare it against your own list and see where the counts differ before you order.